User Portals
User portals allow a user to cordon off specific studies and analyses into their own user interface, which we call a portal, selectively slicing the data available through that portal.
The main QIITA portal gives access to all studies in the database, while
adding studies to a specific portal and changing the config file to point to the
portal will show the same interface, but with only the selected studies. To
change the portal being accessed, simply change the PORTAL setting in the
qiita config file. This must correspond to a portal name in the database.
Creating/Deleting a portal
Portals are created using the command line interface. A portal may be added
using the command qiita-env create-portal PORTAL_NAME PORTAL_DESC.
Conversely, a portal may be deleted by the command
qiita-env remove-portal PORTAL_NAME.
Note, however, that you can not remove a portal that has one or more
studies/analyses attached to it. Also, the QIITA portal is a base
system portal and therefore can not be deleted.
Adding/Deleting studies on a portal
Studies will automatically be added to the main QIITA portal, as well as
the portal set in the config file if different than QIITA. To add or remove
a study from a portal, there are two methods: Command line and web interface.
Command line additions and deletions can be done using the
qiita db portal [add/remove]-studies PORTAL_NAME STUDY_LIST.
The PORTAL_NAME is the name of the portal to add or remove from, and the
STUDY_LIST is a space separated list of study IDs to act on. For example,
to add studies 5, 6, and 7 to the portal “EMP”, you would use the following
command:
qiita db portal add-studies EMP 5 6 7
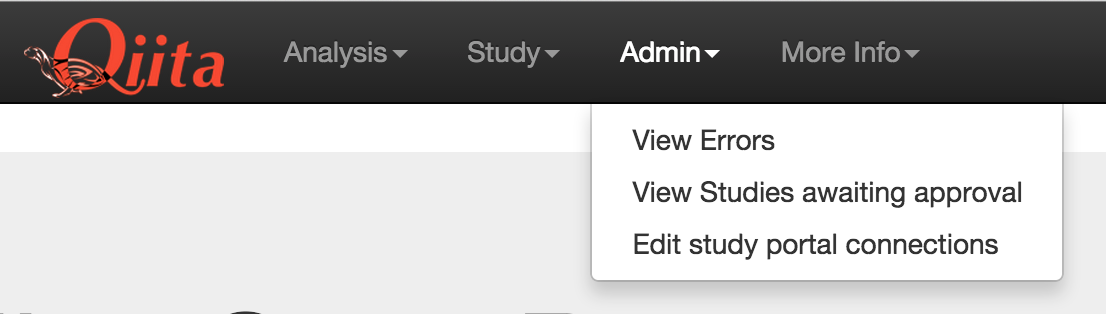
To add from the web interface, you must have admin privileges and be on the
QIITA portal. You can then access the portals editing page through the
admin menu dropdown and selecting “Edit study portal connections”.
On this page, you can select all studies required, followed by the portal, and then add or remove as needed.

Portal selection: This changes what portal the studies will be added/removed from. A portal must be selected.
Study selection: Select the studies you want to add/delete from the portal. at least one study must be selected.
Portal view selection: Changing this dropdown changes the studies viewed in the table. Current studies in the table belong to the portal selected here.
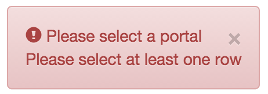
If you have not selected a study and/or portal, an error message will display and the selection will not be processed.
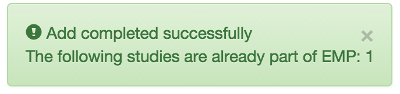
If selections are made correctly, a success message will appear. This may may include a list of study IDs that were not acted upon, along with the reason for not acting upon them. For example, if a study is already part of a portal and added again, it will show up in this message.
Adding/Deleting analyses on a portal
Analyses will automatically be added to the main QIITA portal, as well as
the portal set in the config file if different than QIITA. Because the
analyses are heavily dependent on what studies and data are available, WE
STRONGLY ADVISE NOT CHANGING THE PORTAL ASSIGNMENTS FOR ANALYSES.
If absolutely required, command line additions and deletions can be done using
the qiita db portal [add/remove]-analyses PORTAL_NAME ANALYSIS_LIST. The
PORTAL_NAME is the name of the portal to add or remove from, and the
ANALYSIS_LIST is a space separated list of analysis IDs to act on. For
example, to remove analyses 5, 6, and 7 to the portal “EMP”, you would use the
following command:
qiita db portal remove-analyses EMP 5 6 7
Customizing portal text and style
Portals can have their own custom welcome text and CSS styling. Portals have their own configuration file, an example of which is in qiita_pet/support_files/portal_config.cfg
In this file, you can enter the site title and logo for the portal, along with header and welcome text displayed on the index page. Logos must be 40px by 100px.
You may also add a filepath to a custom CSS file for further style customizations as required. This must be a standard format CSS file, based off the jQuery 2.1.0 and bootstrap 3.1.1 CSS libraries. The custom CSS will then be injected into each page automatically. Changes to the custom CSS will be applied on next server restart.